Hyundai Kona: Windshield Wiper/Washer / Rain Sensor Repair procedures

Removal
  
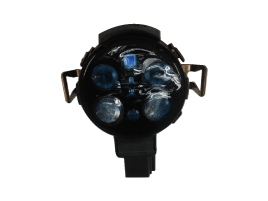
Do not damage or touch the silicone (coupling medium).
Be careful so that the silicon is not contaminated by foreign substances, dust, etc. .
Use caution, as the silicon may be damaged if you try to separate the rain sensor forcibly.
  
The dust or foreign substance on the rain sensor may have bad influence on the performanec of the rain sensor. In order to ensure accurate function of the rain sensor, protect the sensor surface with the protection cover until the sensor is installed on the bracket.
The coupling pad on the rain sensor surface is adhesive and the coupling pad may stick to the windshield during the use depending on the environment condition.
Therefore, it may be damaged when you try to remove the rain sensor from the windshield forcibly. Use caution when sepearting it from the windshield.
1.
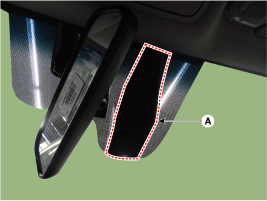
Remove the rain sensor cover (A).

2.
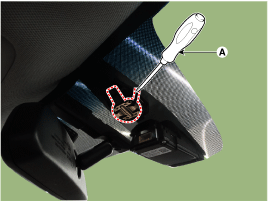
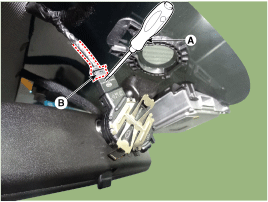
To remove the latch, pull aside the latch using the cover hole with a small flat-blade screwdriver (A).

3.
Remove the rain sensor.
1)
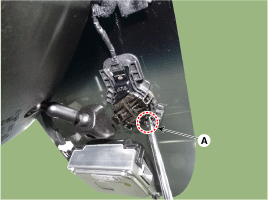
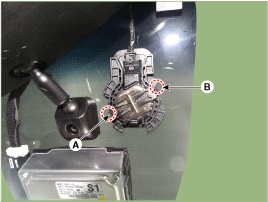
Insert a small flat-blade screwdriver (-) into a space at the bottom(B) or top(A), between the rain sensor and bracket. .
2)
Pull the rain sensor slowly up and down in the vertical direction of the glass, then disassemble the rain sensor slowly from windshield without damaging the silicone on the sensor.

  
It may be damaged when you try to remove the rain sensor from the windshield forcibly. Use caution when sepearting it from the windshield.
When detaching the silicone under a high temperature, it may be easily damaged because of the adhesive strength of the silicone. Remove the silicone in a cool enviroment.
4.
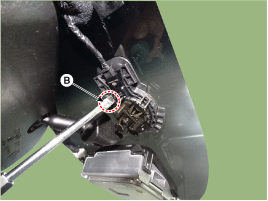
Disconnect the wiring harness connector (B) from the rain sensor by inserting a small flat-blade screwdriver (A) into the space.

Installation
  
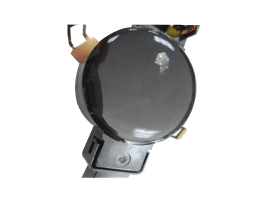
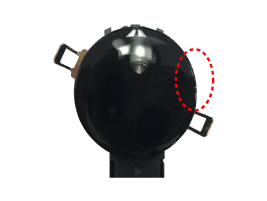
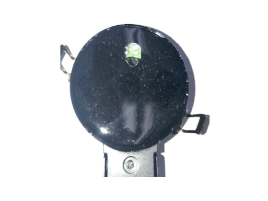
In case the silicone of the rain sensor is normal or slightly damaged as shown in the below images, it can be reused.
Normal
Damage within 1.5 mm of outer part


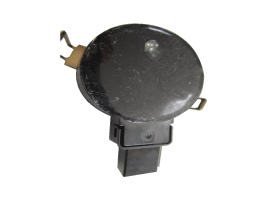
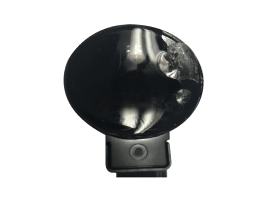
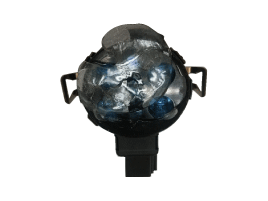
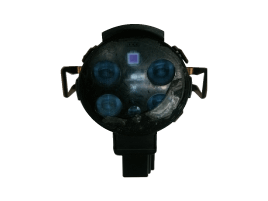
In case the silicone of the rain sensor is damaged as shown in the below images, it should be replaced with a new sensor.
Foreign substances
Fingerprint
Damege


Damege


It is very important that the silicon (coupling pad) is completely pushed against the windshield and stuck without any air bubble.
In case of replacing the damaged windshield, you may reuse the undamaged exisitng rain sensor.
The windshield glass has to be clean and free of contamination or foreign substances.
1.
Connect the rain sensor connector.
2.
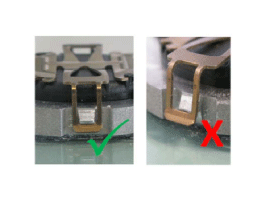
Push one of the latch of spring arm (A) down until it snaps and you hear a click sound.
And then push the latch of second spring arm (B) for keeping the sensor in right position.

  
Do not snap both spring arms at the same time.
An incorrectly mounted snap connection may cause malfunctions of the rain/light sensor.

Rain Sensor Schematic diagrams
Circuit Diagram ...

Electro Chromic Inside Rear View Mirror
...

Other information:

Hyundai Kona (OS) 2018-2024 Service Manual: Special service tools
Special Service Tools Tool Name / Number Illustration Description Alternator pulley remover wrenchh 09373-27000 Removal and installation of alternator pulley ...

Hyundai Kona (OS) 2018-2024 Owners Manual: Mechanical key
If the remote key does not operate normally, you can lock or unlock the door by using the mechanical key. To unfold the key, press the release button then the key will unfold automatically. To fold the key, fold the key manually while pressing the release button. NOTICE Do not fold the key without ...

© 2018-2024 www.hkona.com