
Hyundai Kona: Rear Door / Rear Door Window Glass Repair procedures
| Replacement |
| 1. |
Remove the rear door trim.
(Refer to Rear Door - "Rear Door Trim")
|
| 2. |
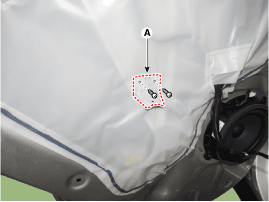
After loosening the mounting screws, remove the Rear door full handle
mounting support (A).
|
| 3. |
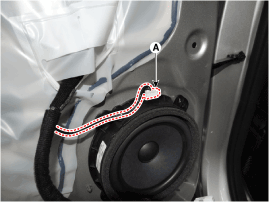
Disconnect the Rear door speaker connector (A).
|
| 4. |
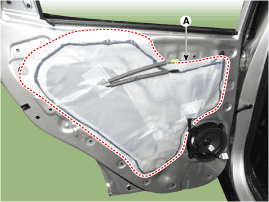
Remove the Rear door trim seal (A).
|

| 5. |
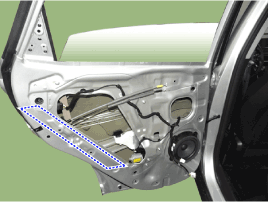
Unscrew the rear door channel mounting nut and bolt (A) loosely.
|
| 6. |
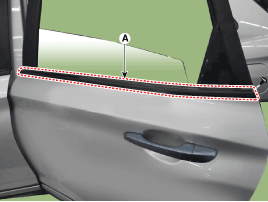
After loosening the mounting screws, remove the rear door belt outside
weartherstrip (A) by pulling it upward.
|
| 7. |
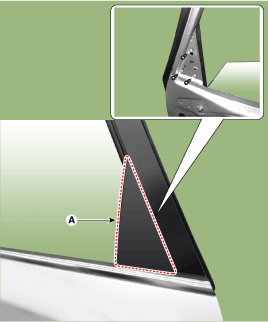
After loosening the mounting screws, remove the Rear door delta molding
(A).
|
| 8. |
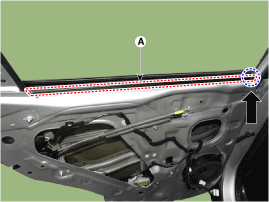
Remove the rear door belt inside weatherstrip (A).
|
| 9. |
By operating the power window switch, pull down until the glass mounting
bolt on plug hole is visible.
|

| 10. |
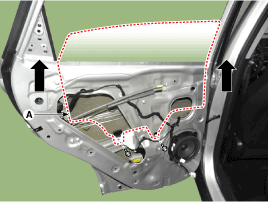
Loosen the mounting bolt and then pull out the rear door window glass
(A) by tilting it sideways.
|
| 11. |
To install, reverse removal procedure.
|
 Rear Door Window Glass Components and components location
Component Location
1. Rear door window glass
...
 Rear Door Power Window Regulator Components and components location
Component Location
1. Rear door power window regulator
...
Other information:
Hyundai Kona (OS) 2018-2026 Service Manual: High Pressure Fuel Pump Repair procedures
Removal
•
In case of removing the high pressure fuel pump, high pressure
fuel pipe, delivery pipe, and injector, there may be injury
caused by leakage of the high pressure ...
Hyundai Kona (OS) 2018-2026 Owners Manual: Instrument panel overview
â– Left-Hand drive type
1. Instrument cluster 2. Horn 3. Driver’s front air bag 4. Key ignition
switch Engine Start/Stop button 5. Light control/Turn signals 6. Wiper/Washer
7. Audio system Navigation system 8. Hazard warning flasher switch 9. Manual
climate control system Automatic climate c ...
