
Hyundai Kona: Rear Seat / Rear Seat Assembly Repair procedures
| Replacement |
| 1. |
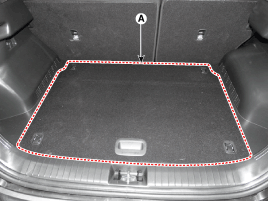
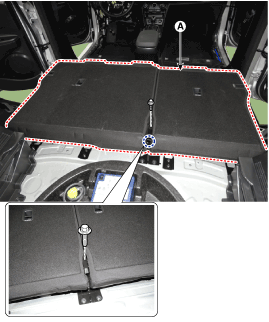
Remove the luggage covering board (A).
|
| 2. |
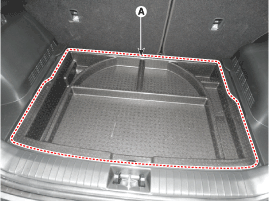
Remove the luggage floor center tray assembly (A).
|
| 3. |
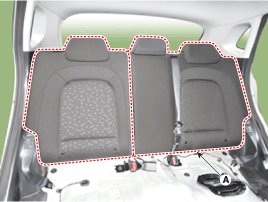
Pull up the rear seat back assembly (A) by pulling the stand-up lever.
|
| 4. |
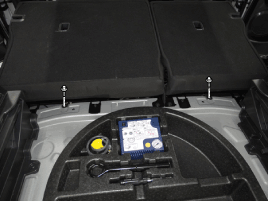
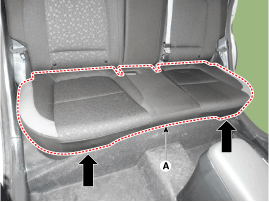
After loosening the mounting bolts, remove the rear seat cushion assembly
(A).
|
| 5. |
To install, reverse the removal procedure.
|
| 1. |
Remove the rear seat cushion assembly.
(Refer to Rear Seat - "Rear Seat Assembly")
|
| 2. |
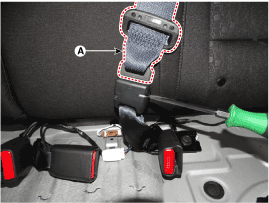
Remove the center seat belt (A) by pushing it with an awl.
|
| 3. |
Pull up the rear seat back assembly (A) by pulling the stand-up lever.
|
| 4. |
After loosening the mounting bolts, remove the rear seat back assembly
(A).
|
| 5. |
To install, reverse removal procedure.
|
 Rear Seat Assembly Components and components location
Component Location
1. Rear seat cushion assembly
2. Rear seat back assembly
...
 Rear Seat Back Cover Components and components location
Component Location
1. Rear seat back cover [LH]
2. Rear seat back cover [RH]
...
Other information:
Hyundai Kona (OS) 2018-2026 Owners Manual: Components of the Tire Mobility Kit
0. Speed- restriction label 1. Sealant bottle and label with speed restriction
2. Filling hose from sealant bottle to wheel 3. Connectors and cable for the power
outlet direct connection 4. Holder for the sealant bottle 5. Compressor 6.
ON/OFF switch 7. Pressure gauge for displaying the tire inf ...
Hyundai Kona (OS) 2018-2026 Owners Manual: Parking
Always come to a complete stop and continue to depress the brake pedal. Move
the shift lever into the P (Park) position, apply the parking brake, and place the
ignition switch in the LOCK/OFF position. Take the Key with you when exiting the
vehicle.
WARNING
When you stay in the vehicle with the e ...
