Hyundai Kona: Cooling System / Cooling Fan Repair procedures
| Removal and Installation |
| 1. |
Disconnect the battery negative terminal from the battery.
|
| 2. |
Remove the air duct and air cleaner assembly.
(Refer to Intake and Exhaust System - "Air Cleaner")
|
| 3. |
Remove the engine room under cover.
(Refer to Engine and Transmission Assembly - "Engine Room Under Cover")
|
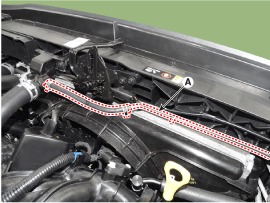
| 4. |
Disconnect the overflow hose and pipe (A).
|
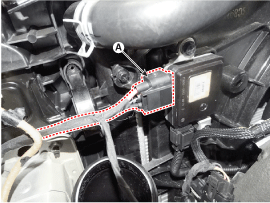
| 5. |
Disconnect the wiring harness connector (A).
|
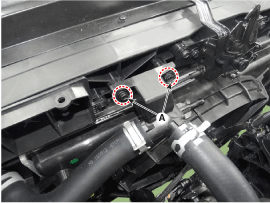
| 6. |
Remove the filler neck assembly mounting bolts (A).
|
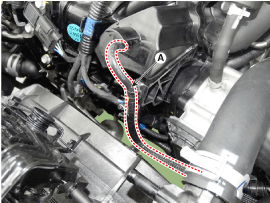
| 7. |
Disconnect the RCV solenoid hose (A).
|
| 8. |
Remove the Hood Latch.
(Refer to Body (Interior and Exterior) - "Hood")
|
| 9. |
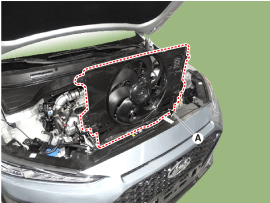
Loosen the mounting bolts and then remove the cooling fan (A).
|
| 10. |
Install in the reverse order of removal.
|
| 1. |
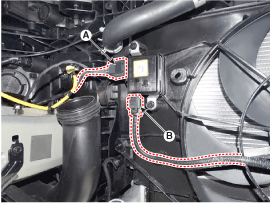
Disconnect the wiring harness connector (A) and the fan motor connector
(B).
|
| 2. |
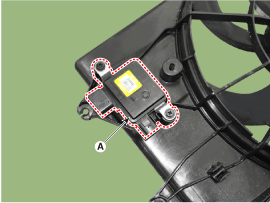
Remove the cooling fan controller (PWM) (A) from the cooling fan shroud.
|
| 3. |
Install in the reverse order of removal.
|
| Disassembly |
| 1. |
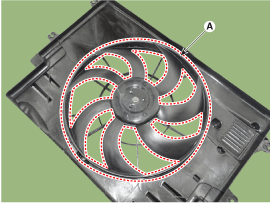
Remove the cooling fan (A) from the cooling fan assembly.
|
| 2. |
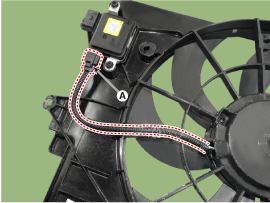
Disconnect the fan motor connector (A) from the cooling fan controller
(PWM).
|
| 3. |
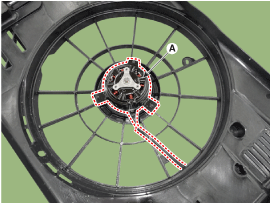
Loosen the screws and then remove the fan motor (B) from the cooling
fan shroud.
|
| 4. |
Install in the reverse order of removal.
|
| Inspection |
| 1. |
Disconnect the fan motor connector from the cooling fan controller (PWM).
|
| 2. |
Connect the battery voltage to the "+" terminal and ground to " - "
terminal.
|
| 3. |
Check the cooling fan motor operates well.
|
 Cooling Fan Schematic diagrams
Circuit Diagram
...
 Radiator Components and components location
Components
1. Radiator Assembly
2. Radiator upper mounting bracket
3. Filler neck assembly
4. Radiator lower hose
5. Radiator upper hose
6. Radiato ...
Other information:
Hyundai Kona (OS) 2018-2026 Owners Manual: Maintenance Under Severe Usage and Low Mileage Conditions (Gasoline Engine,
except Europe)
The following items must be serviced more frequently on cars mainly used under
severe driving conditions. Refer to the chart below for the appropriate maintenance
intervals.
R : Replace
I : Inspect and if necessary, adjust, correct, clean or replace
Severe driving conditions
A : Repeatedly drivi ...
Hyundai Kona (OS) 2018-2026 Owners Manual: Changing a tire with TPMS
If you have a flat tire, the Low Tire Pressure will come on. We recommend that
the flat tire be checked by an authorized HYUNDAI dealer.
CAUTION
We recommend that you use the sealant approved by HYUNDAI.
The sealant on the tire pressure sensor and wheel shall be eleminated when
you replace the tir ...

