Hyundai Kona: Timing System / Drive Belt Repair procedures
Hyundai Kona (OS) 2018-2026 Service Manual / Engine Mechanical System / Timing System / Drive Belt Repair procedures
| Removal |
| 1. |
Disconnect the battery negative terminal.
|
| 2. |
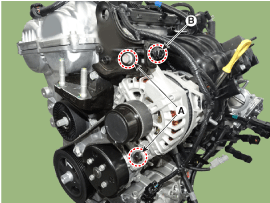
Loosen the alternator tension mounting bolts (A).
|
| 3. |
Loosen the adjusting bolt (B) clockuise in loose tension.
|
| 4. |
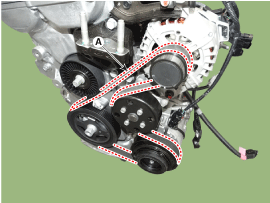
Remove the drive belt (A).
|
| Inspection |
Drive Belt Inspection
| 1. |
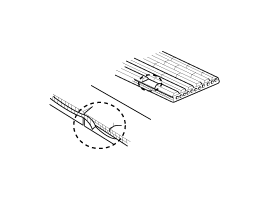
Visually check the belt for excessive wear, frayed cords etc.
If any defect has been found, replace the drive belt.
|
| Adjustment |
Drive belt tension measurement and adjustment
Belt tension measurement
Measure the belt tension using a mechanical tension gauge or a sonic tension
meter.
|
Tension
New Belt :
980.7 - 1078.7 N.m (100.0 - 110.0 kgf.m, 723.3 - 795.6 lb-ft)
Used Belt :
706.1 - 804.1 N.m (72.0 - 82.0 kgf.m, 520.8 - 593.1 lb-ft)
|
|
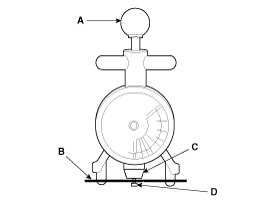
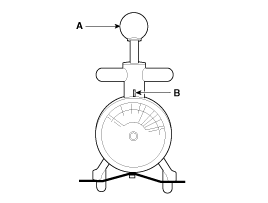
Using a mechanical tension gauge (BT-33-73F, BTG-2 type)
| 1. |
While pressing the handle (A) of the gauge, insert the belt (B) between
pulley and pulley (or idler) into the gap between spindle (C) and hook
(D).
|
| 2. |
After releasing the handle (A), read a value on the dial pointed by
the indicator (B).
|
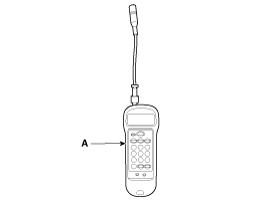
Using a sonic tension meter (U-505/507 type)
| 3. |
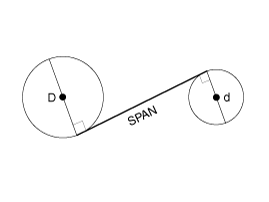
Input the belt specifications into the tension meter.
|
||||||||||||||||||||||||
| 4. |
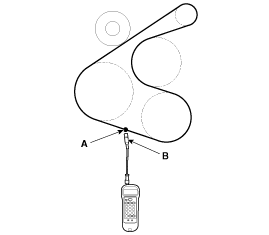
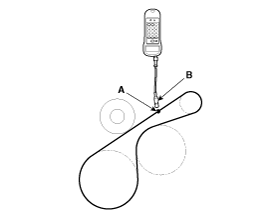
Locate the micro phone (B) close to the center of belt span (A) and
bounce the belt by finger 2-3 times. Read a value on the display.
[With A/C]
[Without A/C]
|
If adjustment is necessary :
| 5. |
Loosen the mounting bolts (A).
|
| 6. |
Tighten the adjusting bolt (B) clockwise in loose tension; loosen the
bolt counterclockwise in high tension.
|
| 7. |
Recheck tension of the belt.
|
| 8. |
After adjusting tension, tighten the through bolts.
|
| Installation |
| 1. |
Install the drive belt (A).
|
| 2. |
Adjust tension by tightening the alternator tension adjust bolt (B).
|
| 3. |
Install the mounting bolts (A).
|
 Drive Belt Components and components location
Components
1. Drive belt
...
 Idler Components and components location
Components
1. Idler
...
Other information:
Hyundai Kona (OS) 2018-2026 Owners Manual: ISG (Idle Stop and Go) system
The ISG system is to reduce the fuel consumption by automatically shutting down
the engine, when the vehicle is at a standstill (i.e. red stop light, stop sign,
and traffic jam).
The engine is automatically started upon satisfying the starting conditions.
The ISG system is always active, when the ...
Hyundai Kona (OS) 2018-2026 Service Manual: Relay Box (Engine Compartment) Components and components location
Component Location
Engine Room Junction Block
Metal Core Block (PCB)
...
© 2018-2026 www.hkona.com

