Hyundai Kona: Rear Seat / Rear Seat Back Cover Repair procedures
| Replacement |
| [LH] |
|
|
| 1. |
Remove the rear seat assembly [LH].
(Refer to Rear Seat - "Rear Seat Assembly")
|
| 2. |
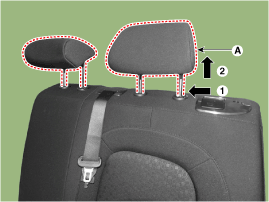
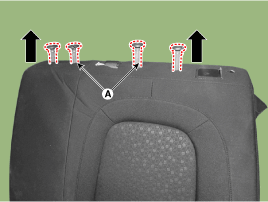
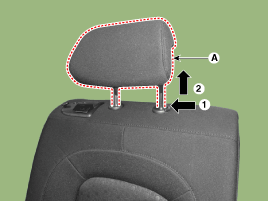
Push the lock pins, and remove the rear seat headrest (A).
|
| 3. |
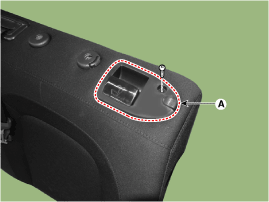
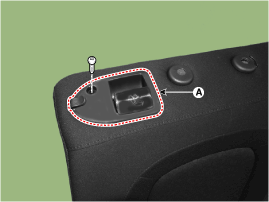
After loosening the mounting screws, remove the rear seat folding bezel
(A).
|
| 4. |
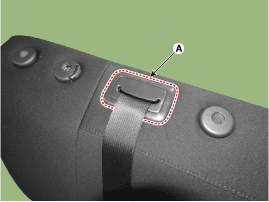
Using a screwdriver or remover, remove the rear seat belt center cover
(A).
|
| 5. |
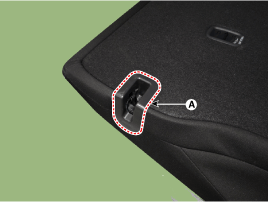
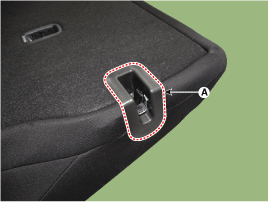
After loosening the mounting screw, remove the rear seat back latch
cover (A).
|
| 6. |
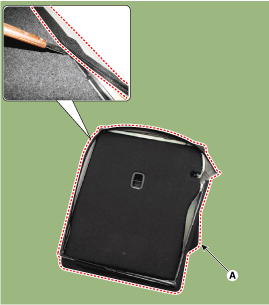
Using a screwdriver or remover, remove the rear seat back cover (A).
|
| 7. |
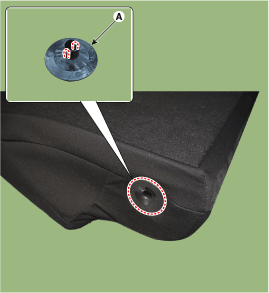
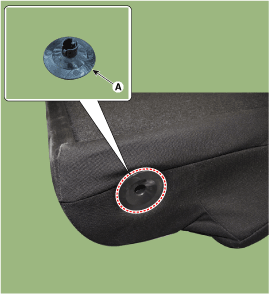
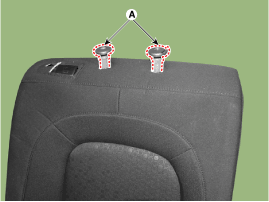
Using a screwdriver or remover, remove the cap (A).
|
| 8. |
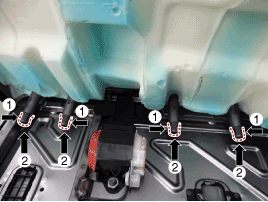
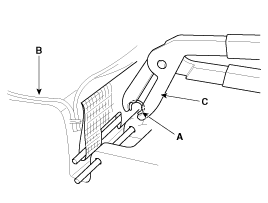
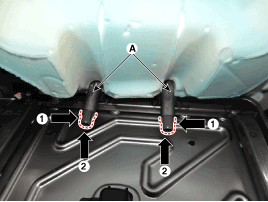
Pull out the rear seat headrest guides (A) while pinching both sides
of the lower part of the guides, and remove them.
|
| 9. |
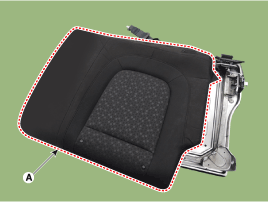
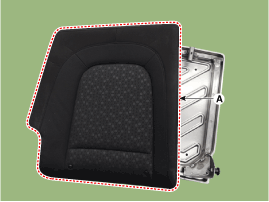
Remove the rear seat back cover assembly (A) from the rear seat back
frame.
|
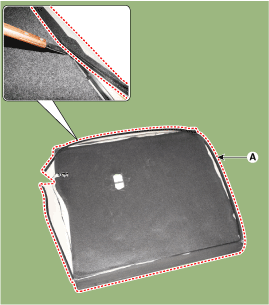
| 10. |
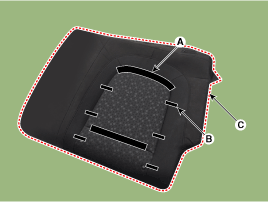
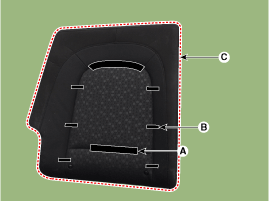
After removing the Velcro tape (A) and hog-ring clips (B) inside the
rear seat cushion cover, remove the seat cushion cover (C).
|
| 11. |
To install, reverse removal procedure.
|
| [RH] |
|
|
| 1. |
Remove the rear seat assembly [RH].
(Refer to Rear Seat - "Rear Seat Assembly")
|
| 2. |
Push the lock pins, and remove the rear seat headrest (A).
|
| 3. |
Using a screwdriver or remover, remove the cap (A).
|
| 4. |
After loosening the mounting screw, remove the rear seat folding bezel
(A).
|
| 5. |
After loosening the mounting screw, remove the rear seat back latch
cover (A).
|
| 6. |
Using a screwdriver or remover, remove the rear seat back cover (A).
|
| 7. |
Pull out the rear seat headrest guides (A) while pinching both sides
of the lower part of the guides, and remove them.
|
| 8. |
Remove the rear seat back cover assembly (A) from the rear seat back
frame.
|
| 9. |
After removing the Velcro tape (A) and hog-ring clips (B) inside the
rear seat cushion cover, remove the seat cushion cover (C).
|
| 10. |
To install, reverse removal procedure.
|
 Rear Seat Back Cover Components and components location
Component Location
1. Rear seat back cover [LH]
2. Rear seat back cover [RH]
...
 Rear Seat Cushion Cover Components and components location
Component Location
1. Rear seat cushion cover
...
Other information:
Hyundai Kona (OS) 2018-2026 Service Manual: ICM (Integrated Circuit Module) Relay Box Repair procedures
Inspection
Out Side Mirror Folding Relay
Check for continuity between the terminals.
1.
There should be continuity between the No.9 and No.19 terminals
when power and ground are connected to the No.10 and No.20 in the
ICM-B.
...
Hyundai Kona (OS) 2018-2026 Service Manual: Turbo Charger Components and components location
Components
1. Turbine
housing
2. Turbine inlet
3. Turbine outlet
4. Compressor housing
5. Compressor inlet
6. Compressor
outlet
7. Center housing
8. Electric Waste Gate Actuator (EWGA)
9. Actuator rod
...


