Hyundai Kona: Propeller Shaft Assembly / Propeller Shaft Repair procedures
| Removal |
| 1. |
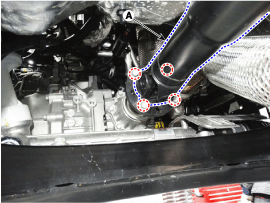
After making a match mark on the flange yoke and transaxle companion,
remove the propeller shaft mounting bolts (A).
|
| 2. |
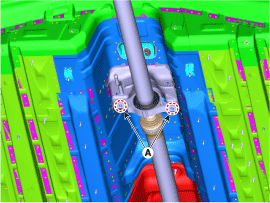
Remove the center bearing bracket (A) mounting boltss.
|
| 3. |
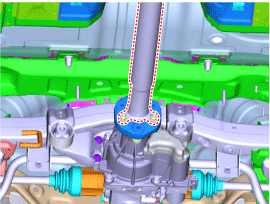
Make the alignment marks on the rubber coupling of the propeller and
companion, and the corresponding marks on the differential carrier,
and then remove the propeller shaft tightening bolt.
|
| Inspection |
| 1. |
Check the front and rear flexible couplings for cracks or damage.
|
| 2. |
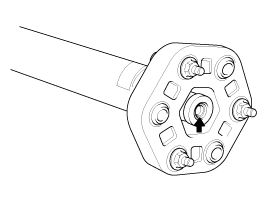
Inspect the flexible coupling centering bushing.If the busing is damaged,
replace the propeller shaft assembly.
|
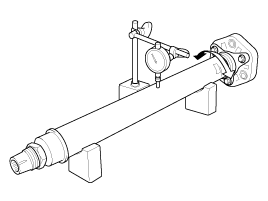
| 1. |
Install a dial indicator with its needle on the center of front propeller
shaft or rear propeller shaft.
|
| 2. |
Turn the propeller shaft slowly and check the runout. Repeat this procedure
for the other propeller shaft.
|
| 1. |
Place the transmission in neutral or N.
|
| 2. |
Raise the vehicle, and make sure it is securely supported.
|
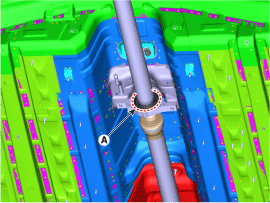
| 3. |
Check the CV joint boot (A). If the CV joint boot is damaged, replace
the propeller shaft assembly.
|
| 4. |
Check the excessive movement of CV joint.
If has that, should be replaced the propeller shaft.
|
| Installation |
| 1. |
Install in the reverse order of removal.
|
 Propeller Shaft Components and components location
Components
1. Rear drive shaft (LH)
2. Coupling assembly
3. Rear differential carrier assembly
4. Rear drive shaft (RH)
5. Propeller shaft assembly
...
Other information:
Hyundai Kona (OS) 2018-2026 Service Manual: Rear Combination Lamp Repair procedures
Removal
1.
Disconnect the negative (-) battery terminal.
2.
Remove the outside rear combination lamp assembly after disconnecting
the connector.
3.
Remove the bulb (A ...
Hyundai Kona (OS) 2018-2026 Service Manual: Compressor Description and operation
Description
The compressor is the power unit of the A/C system.
It is located on the side of engine block and driven by a V-belt of the
engine.
The compressor changes low pressure and low temperature refrigerant gas
into high pressure and high temperature re ...

