Hyundai Kona: Rear Suspension System / Rear Shock Absorber Repair procedures
Hyundai Kona (OS) 2018-2026 Service Manual / Suspension System (NON-ECS) / Rear Suspension System / Rear Shock Absorber Repair procedures
| Removal |
| 1. |
Loosen the wheel nuts slightly.
Raise the vehicle, and make sure it is securely supported.
|
| 2. |
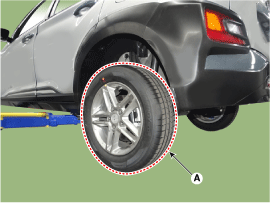
Remove the rear wheel and tire (A) from front hub.
|
| 3. |
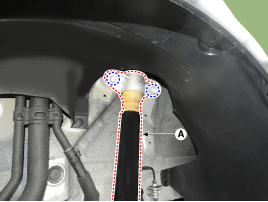
Remove the rear shock absorber (A) from the frame by loosening the bolt.
|
| 4. |
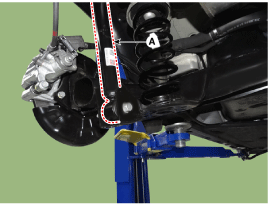
Loosen the bolt & nut and then remove the rear shock absorber (A) from
the torsion beam axle.
|
| Disassembly |
| 1. |
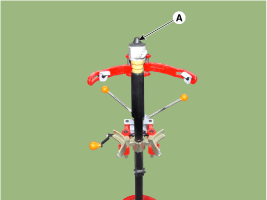
Remove the lock nut cover (A).
|
| 2. |
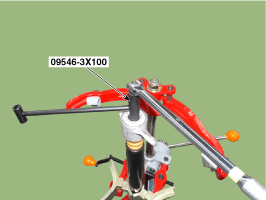
Using the special tool (09546-3X100), install the self locking nut.
|
| 3. |
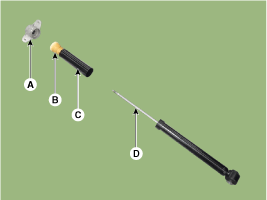
Separate the bracket assembly (A), bumper rubber (B), dust cover (C),
shock absorber (D).
|
| Inspection |
| 1. |
Check the rubber parts for wear and deterioration.
|
| 2. |
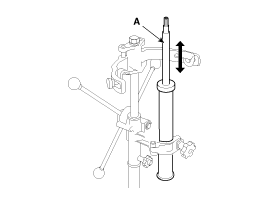
Compress and extend the piston rod (A) and check that there is no abnormal
resistance or unusual sound during operation.
|
| Reassembly |
| 1. |
To reassembly, reverse the disassembly procedure.
|
| 2. |
Using SST (09546-3X100), install the lock nut.
|
| 3. |
Install the lock nut cover (A).
|
| Installation |
| 1. |
Install in the reverse order of removal.
|
 Rear Shock Absorber Components and components location
Components
1. Lock nut cover
2. Lock nut
3. Bracket assembly
4. Bumper rubber
5. Dust cover
6. Shock absorber
...
 Rear Coil Spring Components and components location
Components
1. Spring lower pad
2. Coil spring
3. Spring upper pad
...
Other information:
Hyundai Kona (OS) 2018-2026 Service Manual: CVVT Oil Control Valve (OCV) Schematic diagrams
Circuit Diagram
Harness Connector
OCV [Bank 1/Intake]
OCV [Bank 1/Exhaust]
...
Hyundai Kona (OS) 2018-2026 Service Manual: Engine Oil Repair procedures
Replacement
•
Prolonged and repeated contact with mineral oil will result
in the removal of natural fats from the skin, leading to dryness,
irritation and dermatitis. In a ...
© 2018-2026 www.hkona.com


