Hyundai Kona: ISG (Idle Stop & Go) System / Alternator Repair procedures
Hyundai Kona (OS) 2018-2026 Service Manual / Engine Control / Fuel System / ISG (Idle Stop & Go) System / Alternator Repair procedures
| Removal |
| 1. |
Turn ignition switch OFF and disconnect the battery negative (-) battery.
|
| 2. |
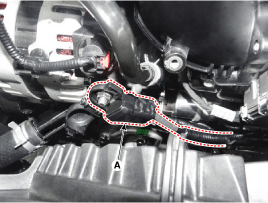
Disconnect the alternator "B" terminal (A) after loosening the mounting
nut.
|
| 3. |
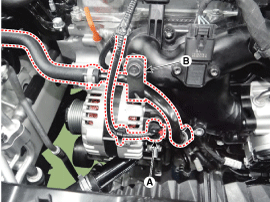
Disconnect the alternator connector (A).
|
| 4. |
Release the coolant hose bracket (B) after loosening the mounting bolt.
|
| 5. |
Remove the engine room under cover.
(Refer to Engine Mechanical System - "Engine Room Under Cover")
|
| 6. |
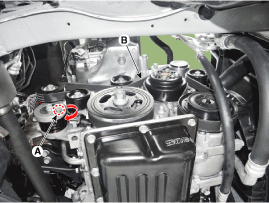
Using a hexagon wrench, loosen the tensioner (A) by turning it clockwise.
|
| 7. |
Remove the drive belt (B).
|
| 8. |
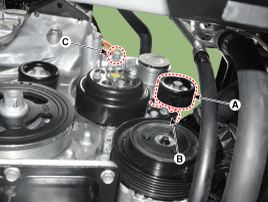
Remove the pully (A) after loosening the mounting bolt.
|
| 9. |
Remove the alternator mounting bracket (B) after loosening the lower
mounting bolts.
|
| 10. |
Remove the alternator mounting upper bolt (C).
|
| 11. |
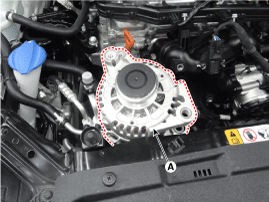
Remove the alternator (A).
|
| Installation |
| 1. |
Install in the reverse order of removal.
|
| Disassembly |
| 1. |
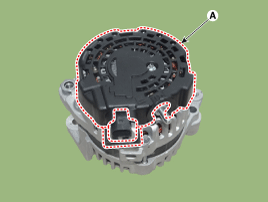
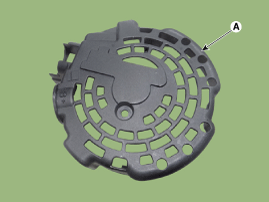
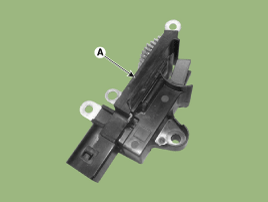
Remove the rear cover (A).
|
| 2. |
Remove the after loosening the mounting bolts.
|
| 3. |
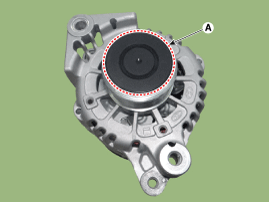
Remove the OAP cap (A).
|
| 4. |
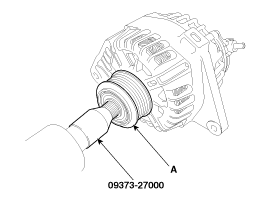
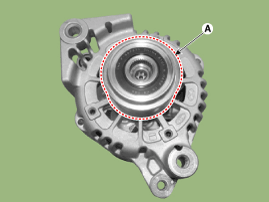
Using the SST (09373-27000), remove the OAP pulley (A).
|
| 5. |
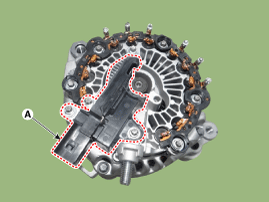
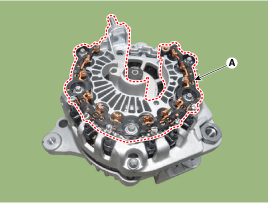
Remove the rectifier assembly (A) after disconnecting the stator leads.
|
| 6. |
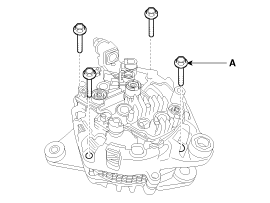
Loosen the through bolts (A).
|
| 7. |
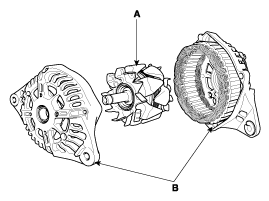
Disconnect the rotor (A) and housing (B).
|
| Inspection |
[Rotor]
| 1. |
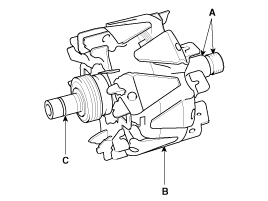
Check for continuity between the slip rings (C).
|
| 2. |
Check that there is no continuity between the slip rings and the rotor
(B) or rotor shaft (A).
|
| 3. |
If the rotor fails either continuity checks, replace the alternator.
|
[Stator]
| 1. |
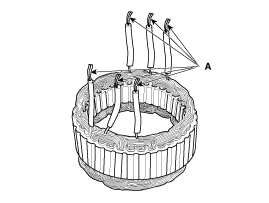
Check that there is continuity between each pair of leads (A).
|
| 2. |
Check that there is no continuity between each lead and the coil core.
|
| 3. |
If the coil fails either continuity checks, replace the alternator.
|
| Reassembly |
| 1. |
Reassemble in the reverse order of disassembly.
|
 Alternator Schematic diagrams
Circuit Diagram
•
COM signal - LIN communication control
...
 Starter Description and operation
Description
The starting system consists of the battery, starter, solenoid switch, ignition
switch, inhibitor switch (A/T), clutch pedal switch (M/T), ignition lock switch,
conne ...
Other information:
Hyundai Kona (OS) 2018-2026 Service Manual: Instrument Cluster Schematic diagrams
Circuit Diagram
[Mono type (3.5")]
[Super vision type (4.2")]
[Super vision type (4.2")]
...
Hyundai Kona (OS) 2018-2026 Owners Manual: Air bags
You can take steps to reduce the risk of being injured by an inflating air bag.
Sitting too close to an air bag greatly increases the risk of injury in the event
the air bag inflates. Move your seat as far back as possible from front air bags,
while still maintaining control of the vehicle.
WARNI ...
© 2018-2026 www.hkona.com

