Hyundai Kona: AVN System / AVN(Audio Video Navigation) head unit Repair procedures
Hyundai Kona (OS) 2018-2026 Service Manual / Body Electrical System / AVN System / AVN(Audio Video Navigation) head unit Repair procedures
| Removal |
|

| 1. |
Disconnect the negative (-) battery terminal.
|
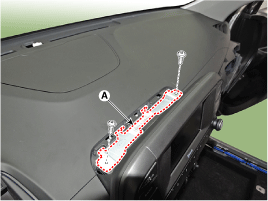
| 2. |
Remove the center fascia panel.
(Refer to Body - "Center Fascia Panel")
|
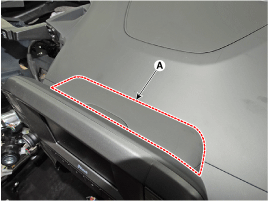
| 3. |
Remove the crashpad garnish.
(Refer to Body - "Crashpad garnish assembly")
|
| 4. |
Remove the AVN head unit after loosening the mounting bolts.
|
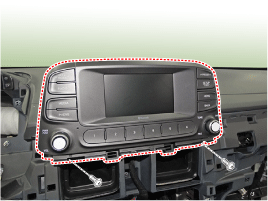
| 5. |
Remove the audio upper cover (A).
|
| 6. |
Remove the audio mounting bracket (A).
|
| 7. |
Remove the AVN head unit (B) after removing the connectors and cables
(A).
|

| Installation |
| 1. |
Install the AVN head unit after connecting the AVN head unit connectors
and cable.
|
| 2. |
Install the center fascia panel.
|
| 3. |
Connect the negative (-) battery terminal.
|
 AVN(Audio Video Navigation) head unit Components and components location
Components
Connector Pin Information
No
Connector A
Connector B
Connector C
1
-
-
...
 External AMP Components and components location
Components
NO
Connector A
NO
Connector B
1
BATT (+)
1
Rear door speaker - LH (+) ...
Other information:
Hyundai Kona (OS) 2018-2026 Service Manual: Rear Shock Absorber Repair procedures
Removal
1.
Loosen the wheel nuts slightly.
Raise the vehicle, and make sure it is securely supported.
2.
Remove the rear wheel and tire (A) from front hub.
Tightening torque :
107.9 - 127.5 N ...
Hyundai Kona (OS) 2018-2026 Service Manual: Master Cylinder Repair procedures
Removal
1.
Turn ignition switch OFF and disconnect the negative (-) battery cable.
2.
Remove the air cleaner.
(Refer to Engine Mechanical System - "Air Cleaner")
3.
Remove the battery.
...
© 2018-2026 www.hkona.com
