Hyundai Kona: Timing System / Crankshaft Damper Pulley Repair procedures
Hyundai Kona (OS) 2018-2026 Service Manual / Engine Mechanical System / Timing System / Crankshaft Damper Pulley Repair procedures
| Removal and Installation |
| 1. |
Remove the drive belt.
(Refer to Timing System - "Dreve Belt")
|
| 2. |
Remove the engineroom under cover.
(Refer to Engine and Transmission Assembly - "Engine Room Under Cover")
|
| 3. |
Remove the passenger side front tire.
(Refer to Suspension System - "Wheel")
|
| 4. |
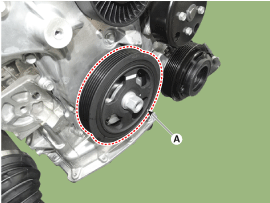
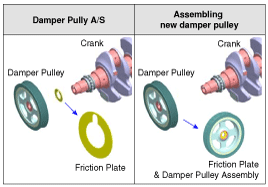
Remove the crankshaft damper pulley (A).
|
| 5. |
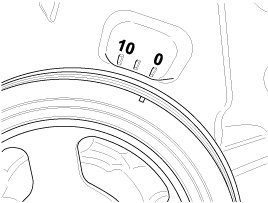
The installation is carried out in reverse order of removal and is fitted
with a view of the groove as shown in illustrations.
|
 Crankshaft Damper Pulley Components and components location
Components
1. Crankshaft damper pulley
...
 Front Oil Seal Components and components location
Components
1. Front oil seal
...
Other information:
Hyundai Kona (OS) 2018-2026 Service Manual: Blower Resistor (Manual) Repair procedures
Inspection
1.
Measure the resistance between the terminals.
2.
The measured resistance is not within specification, the blower
resistor must be replaced. (After removing the resistor)
...
Hyundai Kona (OS) 2018-2026 Service Manual: Rear Door Power Window Regulator Components and components location
Component Location
1. Rear door power window regulator
...
© 2018-2026 www.hkona.com

